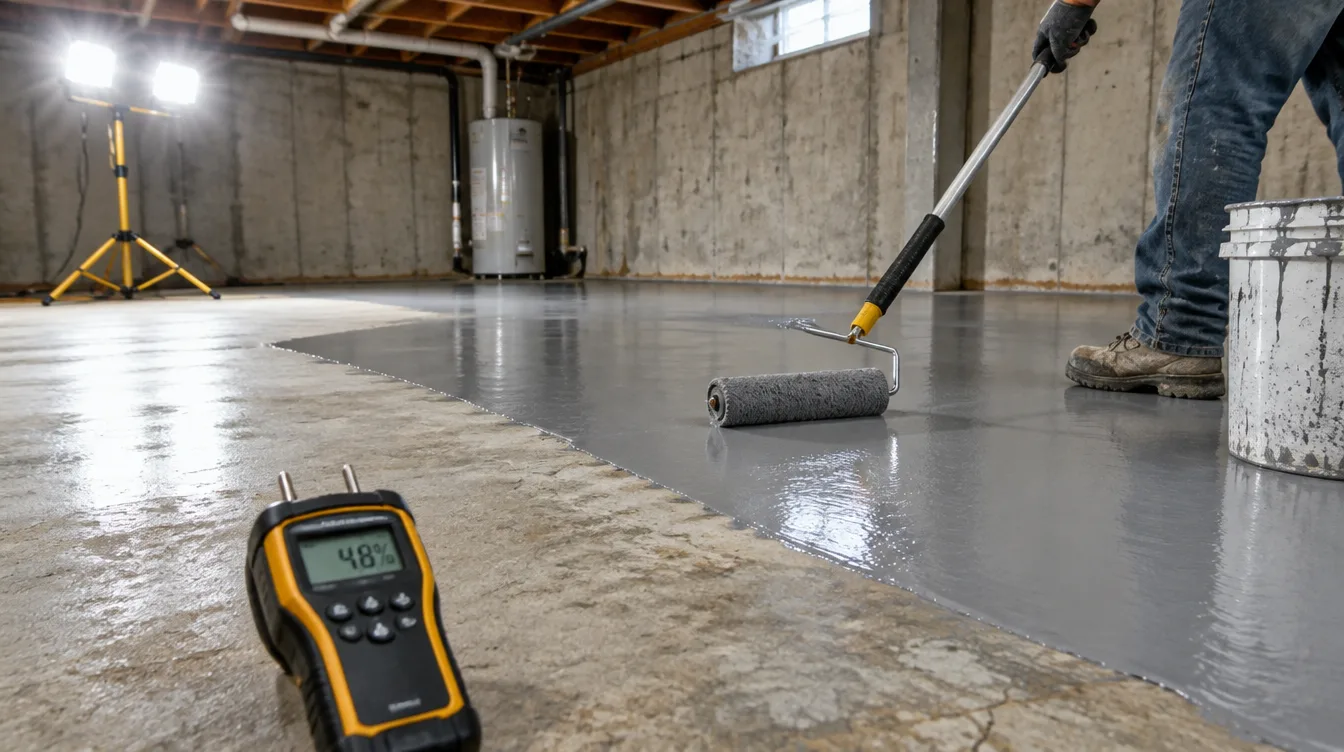
A failed moisture test does not always end the project: for many slabs the answer is a moisture mitigation primer rated for the measured emission level, installed before the coating, and for slabs above that rating the answer is to fix the water source or not coat at all. The test result decides which of those three paths you are on. This guide picks up where the test leaves off, and covers primer types, rated ceilings, what mitigation adds in cost and time, and when to walk away. For the coating systems that go over a mitigated slab, see our epoxy floor coating page.
Quick answer: a failed moisture test does not always end the project
A slab that fails a moisture test can often still take an epoxy floor, provided the specification adds a moisture mitigation primer matched to the measured level. What it cannot take is a standard coating applied as if the test had passed, because moisture moving up through the slab will lift that coating off it.
Think of the result as sorting the slab into one of three groups. Slightly above the limit, where a moisture-tolerant primer is enough. Well above the limit, where a dedicated vapor barrier primer with a high rating is required. And beyond the rating of any primer, or showing liquid water, where the right decision is to deal with the source before any coating goes on.
This post does not explain how to run a calcium chloride or in-slab humidity test, which our guide to moisture testing for epoxy flooring covers, and it does not repeat the general picture of basement moisture, which our post on moisture and basement epoxy floors covers. It starts from a number you already have and walks through what to do about it.
Reading the result: what an ASTM F1869 or F2170 number actually means
An ASTM F1869 result is a moisture vapor emission rate in pounds of water per 1,000 square feet per 24 hours, and an ASTM F2170 result is relative humidity inside the slab as a percentage. Both describe how much vapor the slab is pushing toward the surface, which is the pressure that lifts a coating.
The two numbers measure different things. The calcium chloride test of F1869 captures what escapes from the surface during the test window. The probe test of F2170 reads humidity at depth, with probes set to about 40 percent of the slab thickness when the slab dries from the top only. The probe reading is the better guide to what the slab will do over the life of the floor, which is why many specifications ask for both.
The thresholds most standard systems use are about 3 pounds for F1869 and 75 percent relative humidity for F2170. Those are the limits our testing guide uses. Anything above them means the standard primer is no longer enough, and the question becomes how far above.
A few cautions matter when you read a result. A single reading is a snapshot, and slab moisture changes with weather, irrigation and season, so test at several locations and note when the test was done. A reading tells you the level, not the cause, which is why the last section of this post looks at the source. And a slab that has not finished curing is a different problem from a slab that is wet from the ground: new concrete releases water as it dries, and the usual 28-day cure period is a strength milestone, not a promise that the slab is dry enough to coat.
How 100 percent solids epoxy vapor barrier primers work
A vapor barrier primer is a high-solids epoxy applied as a dedicated first layer to slow vapor transmission through the slab. It forms a dense, low-permeability film that protects the coating above from the vapor pressure that would otherwise push it off.
The chemistry matters. A 100% solids epoxy has no water or solvent to evaporate, so it cures into a continuous film with few pores. That film resists vapor passing through it, and it also bonds to damp concrete better than a standard primer, which depends on a dry surface to cure and bond. Standard primers can trap amine blush or fail to cure in humid conditions, and moisture-tolerant formulations include chemistry that allows proper cure and adhesion at higher moisture levels.
These products are usually applied in one or two coats, sometimes with a broadcast of sand into the wet film to give the next coat a profile to grip. The primer has to be applied after surface preparation, and within the manufacturer's window, because a barrier laid over a weak or contaminated surface fails at the interface instead of on the slab.
A vapor barrier primer does not cure moisture and does not stop liquid water. It slows vapor. That distinction decides where it works and where it does not, which is the subject of the next two sections.
Rated ceilings: matching a primer to the measured emission rate
Every moisture mitigation product has a rated ceiling published on its data sheet, and the product should be chosen so the slab's measured level falls inside it with a margin. The rating is the limit the manufacturer will stand behind.
The tiers our basement guide uses are a useful way to think about it. Below about 75 percent relative humidity and 3 pounds, a standard epoxy primer applies. Between roughly 75 and 85 percent and 3 to 8 pounds, a moisture-tolerant epoxy primer applied in two coats is appropriate. Between roughly 85 and 98 percent and 8 to 25 pounds, a high-build 100% solids moisture-mitigating primer is the tool. And above that, or above about 10 pounds where the testing guide calls for a more aggressive membrane approach, a heavier system may be needed, if any primer is suitable at all.
Two points about ratings are easy to miss. The rating is a maximum for that specific product on a prepared slab, and it assumes the installation follows the data sheet. And different products carry different numbers, so a slab that tests at 90 percent may fit one product and exceed another. Always ask for the data sheet and compare the rated emission and relative humidity to your own test results.
The test needs to be recent. Because slab moisture varies, the rating should be matched to the highest reasonable reading, not the lowest, and the specification should state the test method and location count so the baseline is documented. Our guide to writing an epoxy floor specification shows how to write that requirement into a document.
Cost per square foot and cure time that mitigation adds
Moisture mitigation adds a material and labor cost per square foot plus at least one extra cure period, and both are small next to removing and reinstalling a failed floor. The cost depends on which tier of primer the slab needs.
The figures our own guides publish are these. Our moisture testing guide and our garage floor epoxy cost guide put a moisture-tolerant or vapor barrier primer at roughly $0.75 to $1.50 per square foot added, and the garage cost guide lists the test itself at $75 to $150. Our basement epoxy page puts moisture mitigation primers at $2 to $4 per square foot added where a slab needs a high-capacity barrier, in the higher-vapor basements it handles. Read together, the lower figure is the natural fit for a moderate result and the higher figure for a high-vapor slab, but treat both as planning ranges and get a written quote for your own slab.
Time is the second cost. A mitigation primer typically adds about one day to the project, since it needs roughly 6 to 12 hours to cure before the decorative coating can go over it, according to our basement page, and some products need a longer window before topcoating. Allow for it in the schedule, particularly in an occupied building.
The comparison to make is with the alternative. A floor that delaminates from moisture has to be stripped, the slab re-prepared and tested, and the whole system installed again, so the mitigation line is cheap insurance. Our guide to garage floor epoxy cost shows where it sits among the other cost lines.
Comparison table: primer type against rated MVER, coats and added cost
| Primer type | Typical rated range | Coats | Added cost and time |
| Standard epoxy primer | Up to about 75% RH and 3 lb MVER | One | Included in the base system |
| Moisture-tolerant epoxy primer | About 75 to 85% RH and 3 to 8 lb MVER | Two | Roughly $0.75 to $1.50 per sq ft, about one extra day |
| 100% solids vapor barrier primer | About 85 to 98% RH and 8 to 25 lb MVER | One to two | Roughly $2 to $4 per sq ft where a high-capacity barrier is needed, about one extra day |
| Membrane or heavier system | Above those ranges, product specific | Per data sheet | Quoted case by case |
| No coating until the source is fixed | Liquid water or readings beyond any rating | None | Cost moves to drainage and repair |
The ranges are the tiers our guides use and typical data-sheet figures, and the specific product's data sheet controls. If a product's rating is lower than your reading, the product is wrong for the slab.
When the honest answer is do not coat this slab
Do not coat a slab when the water driving the moisture is liquid, constant or beyond any primer's rating, because the coating will fail and the failure will be blamed on the product. A contractor who tells you that is protecting you from paying twice.
Four situations call for stopping:
- Liquid water or hydrostatic pressure. If water is seeping through the slab, standing on it or pushing up through cracks and joints, a vapor primer is the wrong tool. Pressure from groundwater can lift any film.
- Readings above every rated ceiling. If the slab tests above the highest rating available for a product you can use, there is no warranty-backed answer.
- Active efflorescence or recurring wet staining. White mineral deposits and dark patches that return after cleaning show water carrying salts through the slab.
- A previous coating that failed from moisture. The same cause will fail the next one unless the source has changed.
In these cases the sensible options are to fix the source and retest, to choose a finish that does not form a barrier, or to accept the slab as it is. Some owners in a damp basement choose a breathable approach, such as a sealed, polished or stained surface, over a coating that traps vapor. Our comparison of basement floor epoxy versus tile covers the tradeoffs of the alternatives.
The decision should be documented. A written recommendation not to coat, with the test results attached, is worth more than a coating applied against the evidence.
Fixing the source: drainage, grading and vapor retarder failures
High moisture readings have causes, and fixing the cause is often cheaper and more durable than mitigating the symptom. The reading tells you the level, not the reason, so look for the reason.
The usual causes are these. A missing or damaged vapor retarder beneath the slab lets ground moisture rise through the concrete, and because the retarder sits under the slab, this one cannot be repaired after the fact, which is why a primer is often the fix. Poor exterior drainage sends water to the foundation: soil that slopes toward the house, downspouts that discharge at the wall, gutters that overflow and irrigation heads that soak the perimeter. A commonly cited grading guideline is a fall of about 6 inches over the first 10 feet away from the foundation. A high water table or heavy clay soil holds water against the slab, and San Antonio's expansive clay is notorious for it. And a slab that has not finished curing is simply wet for now.
The fixes follow the causes: regrade the soil away from the house, extend downspouts, repair gutters, adjust irrigation, seal cracks and the slab-to-wall joint, and where groundwater is the issue, install a perimeter drain or a sump. Then wait and retest, since slabs take time to dry once the source is removed. Documenting the readings over several weeks shows whether the fix is working.
If the slab also needs leveling or repair before coating, sequence that work after the moisture decision, because patching compounds have their own moisture limits. Our guide to concrete floor leveling before epoxy covers that step. Done in order, source repair first, then mitigation where needed, then the coating, the floor stands a far better chance of lasting.
Frequently asked questions
Can you install epoxy over a slab that failed a moisture test?
Often yes, using a moisture mitigation primer rated for the measured emission level. The primer has a ceiling though, and above it the correct decision is to address the source rather than coat over it.
What is a moisture vapor barrier primer?
A high solids epoxy applied as a dedicated first layer to slow vapor transmission through the slab, protecting the coating above from the pressure that would otherwise lift it off.
How much does moisture mitigation add to an epoxy floor?
It adds a material cost per square foot plus at least one extra cure day. It is considerably cheaper than removing and reinstalling a failed floor, which is the alternative it protects against.
What causes high moisture readings in a concrete slab?
A missing or damaged vapor retarder beneath the slab, poor exterior drainage, a high water table, or simply a slab that has not finished curing. The reading tells you the level, not the cause.
Is a moisture test always necessary?
For any slab-on-grade or below-grade floor it is the cheapest insurance in the project. Moisture driven delamination is among the most common coating failures and is almost entirely preventable.
If your slab has failed a moisture test, call (830) 355-3303 for a free on-site measure and written quote, or review our epoxy floor coating page to see the systems we install over a mitigated slab.