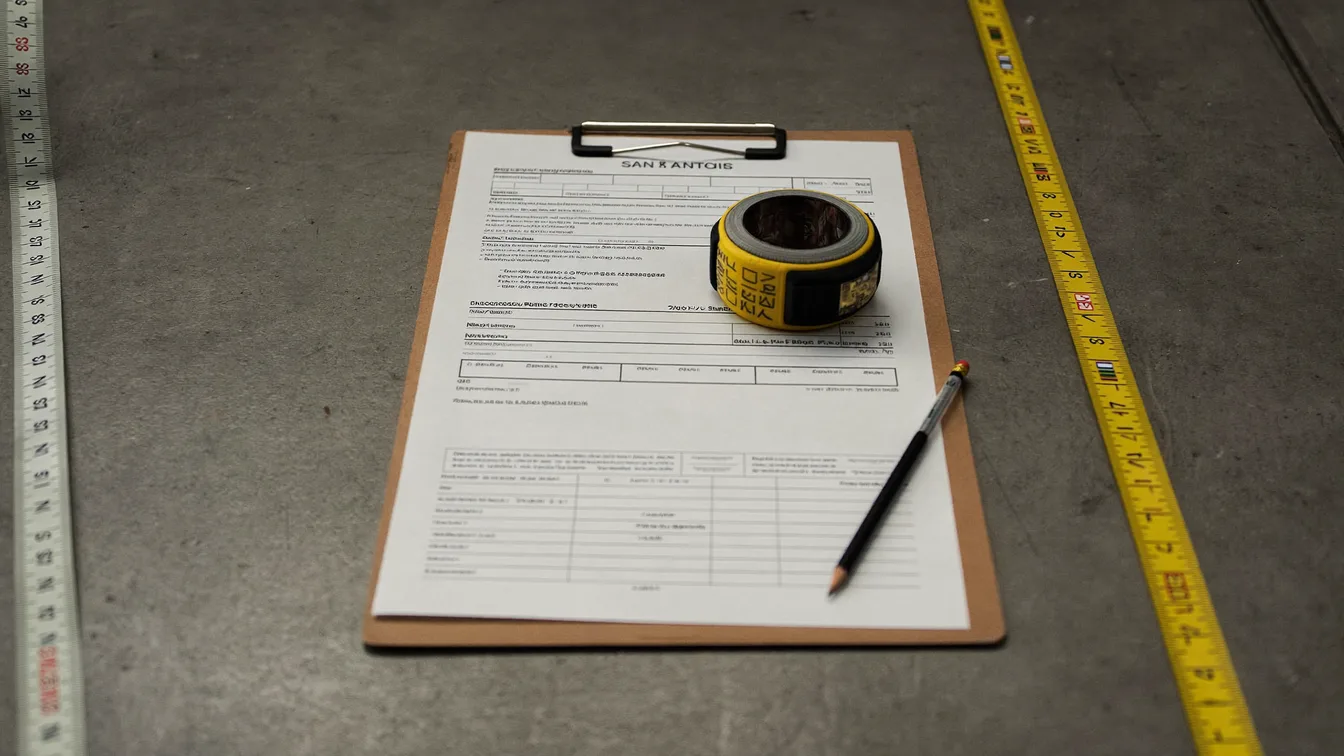
A proper epoxy floor estimate shows eight line items: the measured square footage, the surface preparation method, moisture testing, the system build in mils, the number of coats, coving and details, the cure and return-to-service schedule, and the warranty with its exclusions. If any of the eight is missing, the number at the bottom is not comparable to anyone else's. This guide is the checklist for reading an epoxy floor coating estimate in San Antonio line by line, so you can hold two or three documents side by side and see exactly what each one promises. It covers what each line should say, what a vague version looks like and a worksheet you can print.
Quick answer: the eight line items a comparable estimate must show
An estimate is comparable only when every variable that changes the finished floor is written down. Here are the eight, with the wording to look for.
- Measured area. Square footage taken on site with a tape or laser, not guessed from a listing or a phone call.
- Surface preparation. The method (diamond grinding, shot blasting), the target profile and the extent, priced as its own line.
- Moisture testing. Which test, how many locations, who pays and what happens if the slab fails.
- System build. Primer, base coat, any broadcast media and topcoat, with the total thickness in mils.
- Number of coats. Written as a count, with the product named for each.
- Coving and details. Wall base, control joint and crack treatment, drains and transitions.
- Cure schedule. Foot traffic, light use and vehicle or forklift traffic as separate dates or hours.
- Warranty and exclusions. Years, what is covered, what voids it and a plain list of what the price does not include.
The sections below take each item in turn. Our guide to why epoxy quotes vary explains the causes of a price gap. This page does something different: it describes the document itself, so the gap becomes visible on paper instead of a mystery.
Measured square footage, not stated square footage
The first line of a comparable estimate is an area that someone measured on your floor. Stated square footage (from a listing, a blueprint or your own guess) is wrong often enough to move a total by hundreds of dollars, and it quietly changes the price per square foot you think you are paying.
A good estimate shows the number and how it was reached. For a rectangular two-car garage that might be a single line: 20 ft by 22 ft, 440 sq ft. For a commercial space with columns, a mezzanine footprint or an irregular shop layout it should be a short list of zones with their own areas, because columns and equipment pads are either coated around or left out, and the estimate should say which.
- Look for: the dimensions, the total and a note on what is excluded from the area, such as column bases, floor drains or an equipment pad.
- Red flag: a round number with no measurement and no site visit. A figure like "about 1,000 sq ft" for a floor nobody has walked is a placeholder, not an estimate.
- Ask: whether the area includes wall coving, since vertical coving adds linear feet that are usually priced separately.
When two estimates list different square footages for the same floor, stop there. Until the areas match, no other line can be compared. Ask both contractors to confirm the measurement, and reconcile it before anything else.
Surface preparation: method and extent, priced separately
Surface preparation is the line that decides whether the coating stays bonded, so it should name the method, the target profile and the extent of the work. Epoxy does not grip a smooth, sealed or contaminated slab, and a contractor who writes only "prep floor" has not told you what you are buying.
Concrete surface profile is measured on the ICRI 310.2R scale, CSP 1 through CSP 9, where a higher number means a rougher surface. Thin coatings and sealers sit on a low profile. Thicker build systems need a coarser one. A properly written line says something like "diamond grind to approximately CSP 2 to 3" or "shot blast to CSP 3 to 4", not just "mechanical prep". Our deeper reference on concrete surface prep for epoxy flooring covers methods and tooling in more detail.
Extent matters as much as method. Look for these items on the line or right beside it:
- Existing coating or sealer removal. A previous epoxy, paint or curing compound must come off, and that takes more time than grinding bare concrete.
- Crack and joint treatment. Whether cracks are routed and filled, and whether control joints are filled or left open.
- Patching. Spalls and divots up to a stated size, plus a unit rate for anything larger found once the grinder is running.
- Dust control. Grinders connected to a vacuum, which matters in a finished garage or an operating business.
- Oil and grease. Contaminated areas are treated or cut out, not coated over.
Preparation is also where the cheapest estimates tend to trim. A price that is far below the others and has a one-word prep line deserves a direct question about what the machine, the diamond tooling and the hours will be.
Moisture testing: whether it is included and what happens if it fails
A comparable estimate states whether moisture testing is included, which test is used and what the contractor will do if the slab reads high. Moisture vapor moving up through concrete is one of the most common causes of blistering and delamination, and the only way to know your slab's condition is to measure it.
Two ASTM methods dominate. ASTM F1869, the calcium chloride test, measures moisture vapor emission rate in pounds per 1,000 sq ft per 24 hours. ASTM F2170 measures in-situ relative humidity at depth in the slab, as a percentage. Each manufacturer sets a ceiling for its primers and coatings, so a reading is only useful when it is compared with the published limit for the specific product on the estimate. Our guide to moisture testing before epoxy flooring walks through both tests.
The line should answer four questions in plain words:
- Is testing included in the price, or is it an optional add?
- Which method, and how many test locations for the area?
- Who receives the written results?
- If the slab fails, is a rated moisture-mitigation primer quoted now as a priced option, or will it appear later as a change order?
Slabs on grade in the San Antonio area can pass a test in a dry month and read higher after heavy rain, and garages and ground-floor shops without a reliable vapor barrier under the slab are the usual risks. That is why "moisture testing: included, ASTM F2170, three locations, mitigation primer available as a priced alternate" is a very different sentence from silence on the subject.
System build: product, mil thickness, number of coats, coving
The system line must name the products, the thickness in mils and the number of coats, because thickness drives both material cost and service life. One mil is one thousandth of an inch, and "epoxy floor" can mean anything from a roughly 10 mil single-coat paint-like film to a 60 mil or thicker multi-coat build.
A comparable system line reads like a short schedule rather than a sentence. For example:
- Primer: 100 percent solids epoxy, one coat, approximately 5 to 8 mils.
- Base coat: pigmented epoxy, one coat, approximately 12 to 16 mils.
- Broadcast: decorative flake to rejection or partial broadcast, stated as coverage.
- Topcoat: polyaspartic or urethane, one coat, approximately 3 to 5 mils.
That level of detail lets you compare coat count and thickness across contractors. Our reference on epoxy floor thickness in mils explains what each range is suited to. Two specifics to hunt for on the page:
- Solids content. A 100 percent solids product leaves almost all of what is applied on the floor. A low-solids or water-based product loses part of it as it dries, so a thin film can look like a full coat on paper.
- Dry versus wet mils. Thickness should be stated as the cured (dry) film, not as the amount poured wet.
Coving belongs here too. If wall base is wanted, the estimate should give linear feet and height, for example "4 in. cove base, 62 linear ft". Drains, thresholds and the transition to an adjacent floor should be named, because each one is a place where a coating can start to lift. If slip resistance is a concern, as in a wash bay, kitchen or ramp, the line should state the texture or aggregate and, where the project calls for it, a dynamic coefficient of friction target measured under ASTM C1028 or ANSI A326.3.
If you want to know whether a number is reasonable for the footage, the published ranges on our service page are a start: residential garage systems run about $3 to $6 per square foot installed and commercial systems about $4 to $8, depending on the specification and the condition of the slab. The point of this post is not the total, but whether the line items behind that total are written down.
Cure schedule and return to service commitments
An estimate should state when you can walk on the floor, when you can put light items back and when vehicles or equipment may use it. Those are three different moments, and a single "ready in 24 hours" tells you almost nothing about the product being used.
Cure time depends on the chemistry, the film thickness and the temperature and humidity on the day. In a San Antonio summer a closed garage can sit well above 90 degrees Fahrenheit, which speeds the reaction and shortens the working time of the mixed material. Cool, damp winter mornings do the opposite. A thoughtful contractor schedules around that, and the estimate should show the plan rather than a promise that ignores the weather. Our overview of the epoxy floor install timeline and cure breaks the stages down by day.
| Milestone | What the estimate should state | Typical wording |
|---|---|---|
| Install duration | Working days on site, in hours or days | 2 days on site for a 2-car garage |
| Foot traffic | Hours after final coat | Light foot traffic after 12 to 24 hours |
| Light use and furniture | Hours or days after final coat | Return shelving and light items after 48 to 72 hours |
| Vehicle or forklift traffic | Days after final coat, by product | Passenger vehicles after the stated cure window for the topcoat |
| Full chemical cure | Days to full strength | Up to 7 days for the system to reach full cure |
The wording in the right-hand column is an illustration of format, not a promise for any particular product. Your own estimate should carry the figures from the data sheet of the system it names. Two further items are worth confirming at the same time: who moves your belongings and vehicles before the work, and what happens to the schedule if rain, an early cold snap or a failed moisture test delays the start.
Warranty terms and what is excluded
The warranty line should give a length in years, say what is covered and say what voids it. A bare "lifetime warranty" or "satisfaction guaranteed" is not a term you can enforce, while a written, specific one is.
Read it for these points:
- Duration and scope. The number of years and whether labor is covered as well as material.
- Covered failures. Peeling, delamination and bond failure are normally covered. Wear, staining and color change from sunlight or chemicals often are not.
- Conditions that void it. Moisture mitigation declined by the owner, use outside the stated service, or unapproved cleaning products.
- Who the warranty is from. The installing company's name and address, and whether the manufacturer also stands behind the product.
- The process. Whom you call, what proof is needed and how quickly a visit is scheduled.
Adhesion is the technical backbone of a bond-failure claim. ASTM D4541 measures pull-off adhesion in pounds per square inch, and some projects, especially commercial ones, specify a minimum reading. If adhesion testing matters on your job, it belongs on the estimate as an item, not as an afterthought during a dispute.
Estimate comparison worksheet, plus the exclusions that cause disputes
The fastest way to compare estimates is to copy each into the same grid. Fill in the cells from the documents, and mark any blank as unknown rather than assuming it is fine.
| Line item | Contractor A | Contractor B | Unit to record |
|---|---|---|---|
| Measured area | sq ft, with dimensions | ||
| Prep method | grind or blast, target CSP | ||
| Crack and joint repair | linear ft, filler type | ||
| Moisture test | ASTM F1869 or F2170, locations | ||
| Mitigation if test fails | included, alternate or excluded | ||
| Total build | mils, dry film | ||
| Coats and products | count, name, percent solids | ||
| Coving | linear ft, height in inches | ||
| Cure and return to service | hours or days by milestone | ||
| Warranty | years, labor, exclusions |
Once the grid is full, differences usually explain themselves. A lower total tends to line up with a lighter prep method, a thinner build or a blank in the moisture row. A higher one often lines up with extra coats, a mitigation primer already priced in or a longer written warranty. If you are still deciding who to invite to bid, our guide to choosing an epoxy contractor covers the questions to ask before the estimate arrives.
The exclusions that cause disputes
Most arguments after a job are not about the coating at all. They are about something nobody wrote down. Make sure each of these four is addressed in the document before work starts.
- Substrate repairs found during grinding. Hidden cracks, old patches that are failing and low spots only show up once the surface is open. The estimate should state a unit price or a limit before it becomes a change order.
- Moisture mitigation. If it is not in the price, the estimate should say what it would cost to add and what happens to the warranty if you decline it.
- Moving furniture and equipment. Who clears the floor, who returns everything and whether the crew handles heavy or fragile items.
- Removal and disposal of an existing floor covering. Tile, carpet, vinyl and old thick coatings each add labor and dump fees that a coating-only price does not include.
Finally, ask for the estimate in writing and keep it. A written, itemized scope is what makes a warranty claim or a change order resolvable later. When you are ready for one that shows all eight items for your own floor, call (830) 355-3303 for a free on-site measure and written quote.
Frequently asked questions
What should an epoxy flooring estimate include?
Measured area, the preparation method, whether moisture testing is included, the system and its mil thickness, the number of coats, cure and return-to-service times, warranty terms and a clear list of exclusions.
How do I compare two epoxy quotes fairly?
Line them up item by item rather than on total price. Differences in prep method, mil build and whether moisture testing is included usually explain most of the gap between two numbers.
Should an estimate state the mil thickness?
Yes, because thickness drives both material cost and service life. An estimate that names a product but not a thickness leaves the most important variable undefined.
What are common exclusions in a flooring estimate?
Substrate repairs discovered during grinding, moisture mitigation, furniture or equipment moving, and disposal of an existing floor covering. Each should be addressed before work starts rather than after.
Is a verbal quote ever acceptable?
For a project of this size it leaves both sides exposed. A written estimate with itemized scope is what makes a warranty claim or a change order resolvable later.