Why Epoxy Floors Fail - and What Determines the Fix
Not all epoxy floor problems look the same, and not all of them need the same solution. A pinhole bubble is not the same as widespread delamination. A hairline crack in the concrete beneath is not the same as a structural slab crack moving under thermal load. Before deciding on a repair approach, you need to identify what actually failed - the coating, the substrate, or the adhesion between them.
In San Antonio, the most common failure modes we encounter are: moisture vapor transmission pushing up from below (blistering), hot-tire pickup on garage coatings left in the Texas summer sun, delamination at edges or saw-cut joints, and impact damage from dropped tools or equipment. Each one has a different root cause and a different correct repair.
Failure Mode 1: Blistering and Bubbling
Small bubbles or raised blisters in epoxy coating are almost always caused by moisture vapor transmitting up through the concrete slab and getting trapped under the coating. The moisture pressure exceeds the coating's adhesion strength and lifts the film from the substrate.
This is extremely common in San Antonio, where the Bexar County clay soil retains ground moisture year-round and slabs near the water table - including basements, below-grade commercial floors, and older residential garages - regularly exceed the 75% relative humidity threshold that epoxy requires for stable adhesion.
When to patch: If blistering is isolated to one area (near a drain, at a slab cold joint, or in a low spot), localized removal of the failed area, moisture mitigation treatment, and re-coating may be appropriate.
When to resurface: If blistering is widespread across the floor, the moisture condition exists throughout the slab. Full removal of the existing coating, moisture testing (ASTM F2170 in-situ RH probe), application of a moisture mitigation primer, and full re-coat is the correct approach.
When to replace: If the slab itself has active water infiltration (water visible on the surface, efflorescence, or hydrostatic uplift pressure), coating repair alone cannot solve the problem. Address the source of water entry first - foundation drainage, crack injection, or French drain installation - before any coating system will hold.
Failure Mode 2: Delamination (Peeling)
Delamination is when the epoxy film separates from the concrete substrate. Unlike blistering (which is pressure-driven from below), delamination typically results from inadequate surface preparation - contamination on the concrete at the time of installation, insufficient mechanical profile, or an incompatible primer system.
The tell is the sound test: tap the floor with a metal rod or coin across a delaminated zone. Areas with good bond sound solid; delaminated areas produce a hollow, drum-like sound. Map out the hollow areas before deciding on the repair scope.
When to patch: Delamination limited to 5% or less of the floor area - typically at edges, near doors, or around penetrations - can be repaired by grinding out the delaminated zone to solid bond, re-profiling to ICRI CSP 3, and re-coating the patch with a compatible system. Color matching existing coating is imperfect; patch repairs are usually visible.
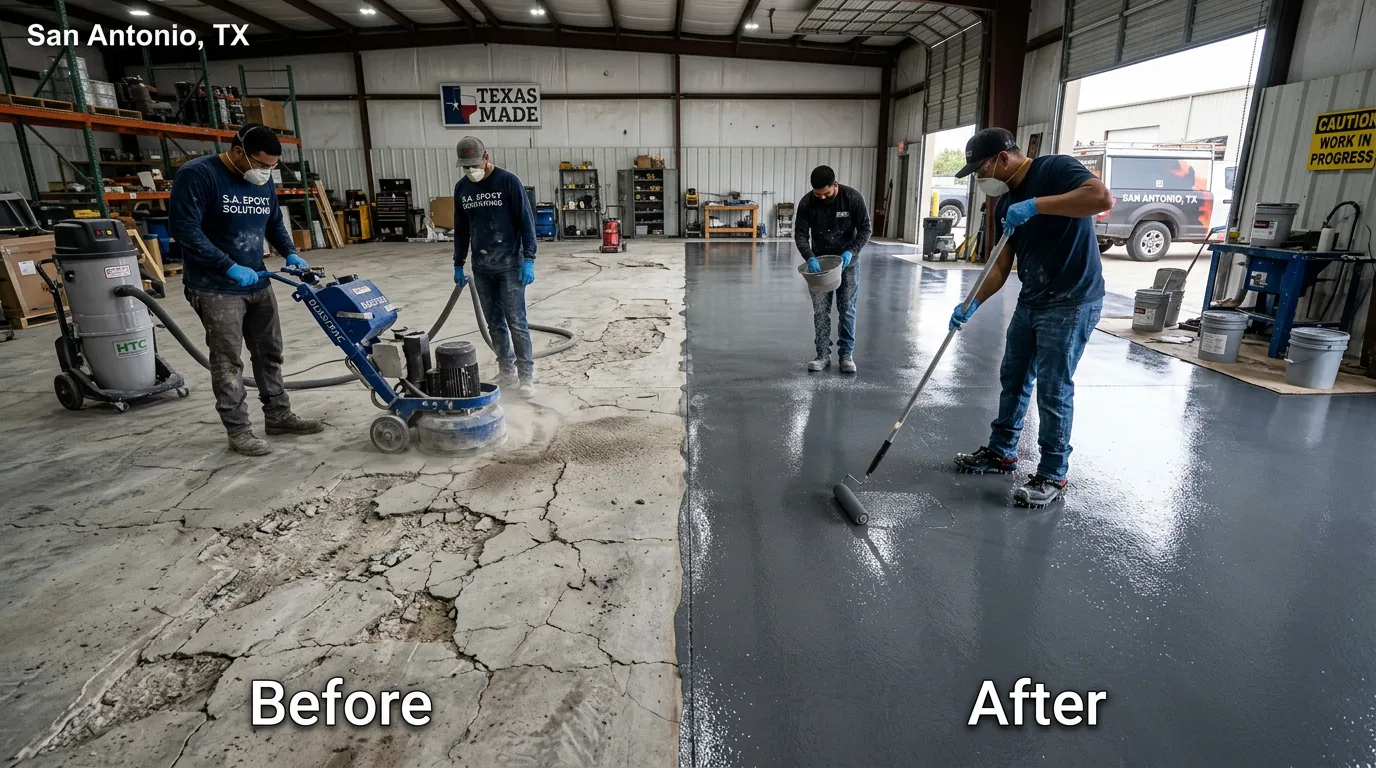
When to resurface or replace: Delamination covering more than 10–15% of the floor area indicates a systemic preparation failure. Full coating removal (diamond grinder or shot blast) and reinstallation from scratch is more cost-effective than patching at that scale, and produces a better result.
Failure Mode 3: Hot-Tire Pickup
Hot-tire pickup is when a vehicle parked on an epoxy floor in San Antonio summer heat causes the coating to bond to the tire and peel up when the vehicle pulls out. This is almost exclusively a residential garage problem, and it's caused by using a water-based or aromatic epoxy product that softens above 80–90°F surface temperature.
San Antonio concrete surfaces in direct or indirect sunlight regularly reach 120–140°F in July. Any coating with a glass transition temperature (Tg) below these values will soften and bond to hot tires.
The fix: Remove the failing coating (mechanical grinding is required - you cannot re-coat over a hot-tire-damaged surface without re-prep), and reinstall a system with an aliphatic polyaspartic topcoat rated for temperatures above 150°F. Polyaspartic topcoats specifically resist hot-tire pickup where standard epoxy topcoats fail. This is not a patch situation - the entire coating needs to come off and be replaced with a properly specified system.
Failure Mode 4: Hairline Cracks
Hairline cracks in the epoxy surface that follow the concrete substrate beneath are common and not always a structural concern. Concrete shrinks as it cures, and control joints and saw cuts are designed to channel this cracking. If a crack is stable (not growing, not displacing vertically), cosmetic repair is appropriate.
Inject hairline cracks with a low-viscosity epoxy crack filler, allow to cure, and topcoat. For moving cracks (thermal cycling opens and closes them), use a flexible polyurea crack filler instead of rigid epoxy - a rigid filler in a moving crack will crack again quickly. After filling, re-topcoat the affected area.
Failure Mode 5: Impact Damage
Dropped tools, falling equipment, or heavy point loads can crack or chip epoxy coating locally without damaging the surrounding area or the substrate bond. These are the most straightforward repairs.
Grind the damaged zone to clean, bonded coating edges, feather the edges, apply filler if the concrete substrate is damaged, prime, and re-coat. Match the topcoat to the field color as closely as possible. Impact repairs are visible on solid color floors; less visible on chip or quartz systems where the random pattern camouflages the patch boundary.
When Re-Coating Over Existing Epoxy Is Acceptable
Re-coating over existing sound epoxy is possible when:
- The existing coating is fully bonded (passes tap test, no delamination)
- The existing coating is clean and free of contamination (oil, silicone, wax)
- The existing coating surface has been mechanically abraded to ICRI CSP 2 to provide mechanical profile for the new topcoat
- The new coating system is chemically compatible with the existing coating
Re-coating is common for garage floors where the color chip broadcast layer is still solid but the topcoat has worn or yellowed. A light grind, solvent wipe, and new polyaspartic topcoat restores the floor's appearance for 30–50% of the cost of full removal and reinstallation.
Call (830) 355-3303 or submit a repair assessment request. ProEpoxy diagnoses the failure mode before quoting - we don't quote repair work we haven't assessed in person.
Get a Free Quote for Your San Antonio Floor
ProEpoxy installs epoxy, polyaspartic, urethane cement, and polished concrete in the San Antonio metro - using our own crews, not subcontractors. We test every slab before we quote and back our work with a written warranty.
Request Free Estimate →