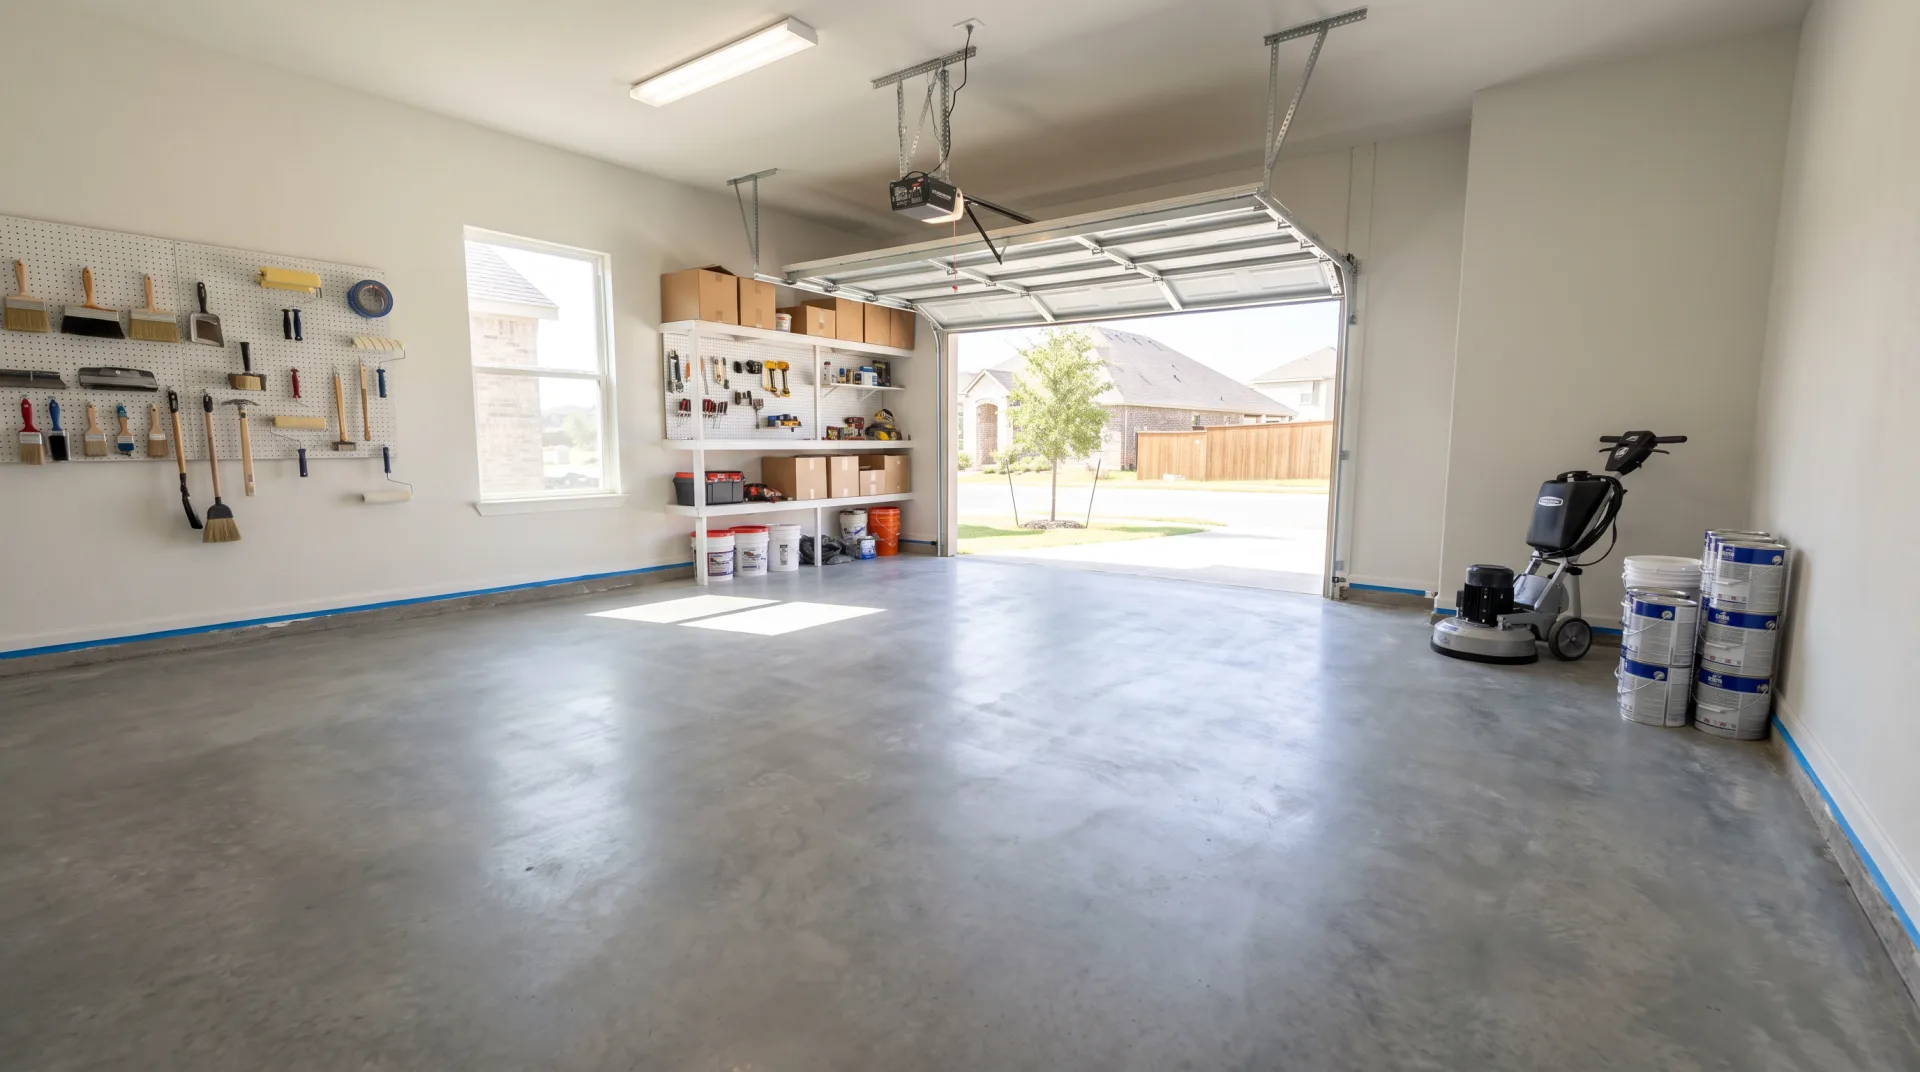
Preparing your San Antonio garage for an epoxy floor comes down to three things: fully clearing the space, addressing any moisture or oil issues you're aware of, and confirming access and scheduling details with your installer ahead of time. Get those right and the crew can focus entirely on surface prep and coating - get them wrong and you risk delays, added costs, or a rushed job that skips steps it shouldn't.
Why Pre-Install Prep Matters More Than Homeowners Expect
Professional installers handle the technical surface prep - grinding, moisture testing, crack repair - but they can't do that work efficiently around a garage full of boxes, sports equipment, and parked vehicles. Every hour the crew spends waiting on you to finish clearing space, or working around items you forgot to move, is time that either extends the project timeline or gets billed as additional labor. A well-prepped garage lets the crew start grinding within the first hour of arrival instead of losing half a day to logistics.
The Full Pre-Install Checklist
- Remove everything from the floor: vehicles, tool chests, storage bins, bikes, and any freestanding shelving units need to be completely out of the garage, not just pushed to one side
- Clear wall-mounted storage in the work zone: pegboards and shelving directly against walls can usually stay, but anything low enough to interfere with edge grinding should be temporarily removed
- Address visible oil stains and fresh spills: wipe down any recent oil or fluid drips - old, set-in stains will be addressed during grinding, but fresh contamination in one specific spot can affect that area's prep
- Note any known cracks or moisture issues: walk the floor yourself beforehand and mentally flag any cracking, discoloration, or areas that stay damp longer than the rest of the slab, so you can point them out during the pre-install walkthrough
- Confirm access and parking arrangements: installers need clear driveway access for equipment and dust-extraction gear, so plan where household vehicles will park during the install window
- Plan for the garage door to stay operational or accept limited access: depending on the coating system's ventilation needs, the garage door may need to stay open during application and cure - confirm this with your installer ahead of time
Timeline: When to Do What
| Timing | Task |
|---|---|
| 1 week before | Confirm install date, discuss any known floor issues with installer |
| 2-3 days before | Begin moving stored items out of the garage |
| Day before | Garage fully cleared, final walkthrough of floor condition |
| Install day | Vehicles/equipment off-site or parked elsewhere, access confirmed |
Don't wait until the morning of install day to start clearing: a garage full of years of accumulated storage almost always takes longer to empty than homeowners expect. Starting a few days ahead avoids a stressful last-minute rush.
What Your Installer Handles, Not You
It's worth being clear about where your responsibility ends and the professional's begins. Diamond grinding, moisture testing, crack and pit repair, and any necessary leveling work are all part of the professional surface prep process - you don't need to attempt any of this yourself, and in most cases doing so can actually complicate the crew's work rather than help it. Our guide on garage floor coating prep in San Antonio covers exactly what that professional prep process involves, which is worth reading if you want to understand what happens on install day beyond just clearing the space.
Scheduling Your Garage Epoxy Install?
We'll walk you through exactly what to prep before our crew arrives, so your install day goes smoothly from the first hour.
Request a Free QuoteSan Antonio-Specific Timing Considerations
San Antonio's climate affects install-day planning in a few practical ways. Summer heat can extend certain coating systems' recoat windows if temperatures spike during the workday, so installers sometimes prefer early-morning starts during peak summer months to get ahead of the hottest part of the day. If your install is scheduled during a stretch of rain, confirm with your installer whether outdoor humidity affects your specific coating system's cure schedule, since some systems are more humidity-sensitive than others. None of this changes what you personally need to prep, but understanding it helps set realistic expectations for how the day will unfold.
Common Pre-Install Mistakes to Avoid
A few recurring mistakes cause more install-day friction than anything else. Leaving a single item behind - a chest freezer, a workbench too heavy to move alone - forces the crew to either work around it (leaving an unfinished patch under and around it) or wait for you to arrange help moving it, both of which cost time. Assuming pets or children can be nearby during grinding is another common oversight; the dust and noise from diamond grinding make it worth arranging alternate supervision during that phase specifically. And scheduling the install for a day when you won't be reachable by phone can also cause delays, since installers sometimes need a quick decision on an unexpected issue - a deeper crack than initially visible, for example - before proceeding.
What to Expect Once Prep Is Handled
Once your garage is fully cleared and the installer arrives, the technical process moves fairly quickly. Moisture testing and a walkthrough happen first, followed by diamond grinding to remove any existing coating and create a bondable surface profile, then crack repair and any necessary patching. From there, the coating system itself goes down in its specified layers, with cure time between coats depending on the system chosen. Homeowners who've done a thorough job of clearing and communicating known issues ahead of time typically see their project move through this sequence without surprises. If you're still deciding between a DIY approach and professional installation at this stage, our comparison on epoxy garage floor DIY vs. professional install lays out the tradeoffs in detail, including why professional grinding matters as much as it does for long-term durability.
After Installation: What You Can Do
Once the crew leaves, your remaining responsibility shifts to respecting the cure schedule they provide - typically light foot traffic after 24-48 hours and full vehicle traffic after several days to a week, depending on the system. Avoid moving heavy items back into the garage or parking a vehicle before the specified cure time has fully elapsed, since early heavy traffic is one of the few things that can compromise an otherwise well-installed floor. Our epoxy garage floor service page has more detail on the systems we install and their specific cure timelines for San Antonio homeowners.
Preparing for Multi-Day Installs
Some coating systems, particularly full multi-layer epoxy systems rather than single-day polyaspartic options, require the garage to stay clear and inaccessible for several consecutive days rather than a single visit. If your chosen system falls into this category, plan household logistics accordingly - where vehicles will park for the full duration, how you'll access any items you'd normally store in the garage during that stretch, and whether the garage door needs to remain accessible for deliveries or other household needs during the project. Homeowners who assume a one-day timeline for a system that actually requires multiple days sometimes find themselves scrambling mid-project to relocate items or arrange alternate parking they hadn't planned for. Confirming the expected timeline explicitly with your installer during scheduling, rather than assuming, avoids this kind of mid-project disruption.
Preparing the Space Around the Garage, Not Just Inside It
Installers need staging space near the garage for equipment - grinders, vacuum systems, mixing stations for multi-part coatings - and driveway or adjacent yard access matters as much as the garage interior itself. Clearing a path from the driveway to the garage door, moving any vehicles blocking that route, and confirming there's reasonable space for a work truck or trailer to park nearby all help the crew set up efficiently. For homes with narrow driveways or shared access with neighbors, flagging this during scheduling lets the installer plan equipment placement in advance rather than improvising on install day.
A Final Walkthrough Checklist Before the Crew Arrives
On the morning of install day, a quick final walkthrough catches anything missed during earlier prep. Confirm the floor is completely bare - no boxes tucked in corners, no items left "just for a minute" that get forgotten. Check that any pets are secured away from the work area for the day, and that household members know to avoid the garage during grinding and coating application. Finally, make sure you or someone reachable by phone will be available during the workday in case the crew has a quick question about a repair decision or scheduling detail that comes up once work is underway. This last step is a small thing, but it's the one homeowners most often overlook - and it's the one that most commonly causes an avoidable delay when a decision is needed and no one can be reached.