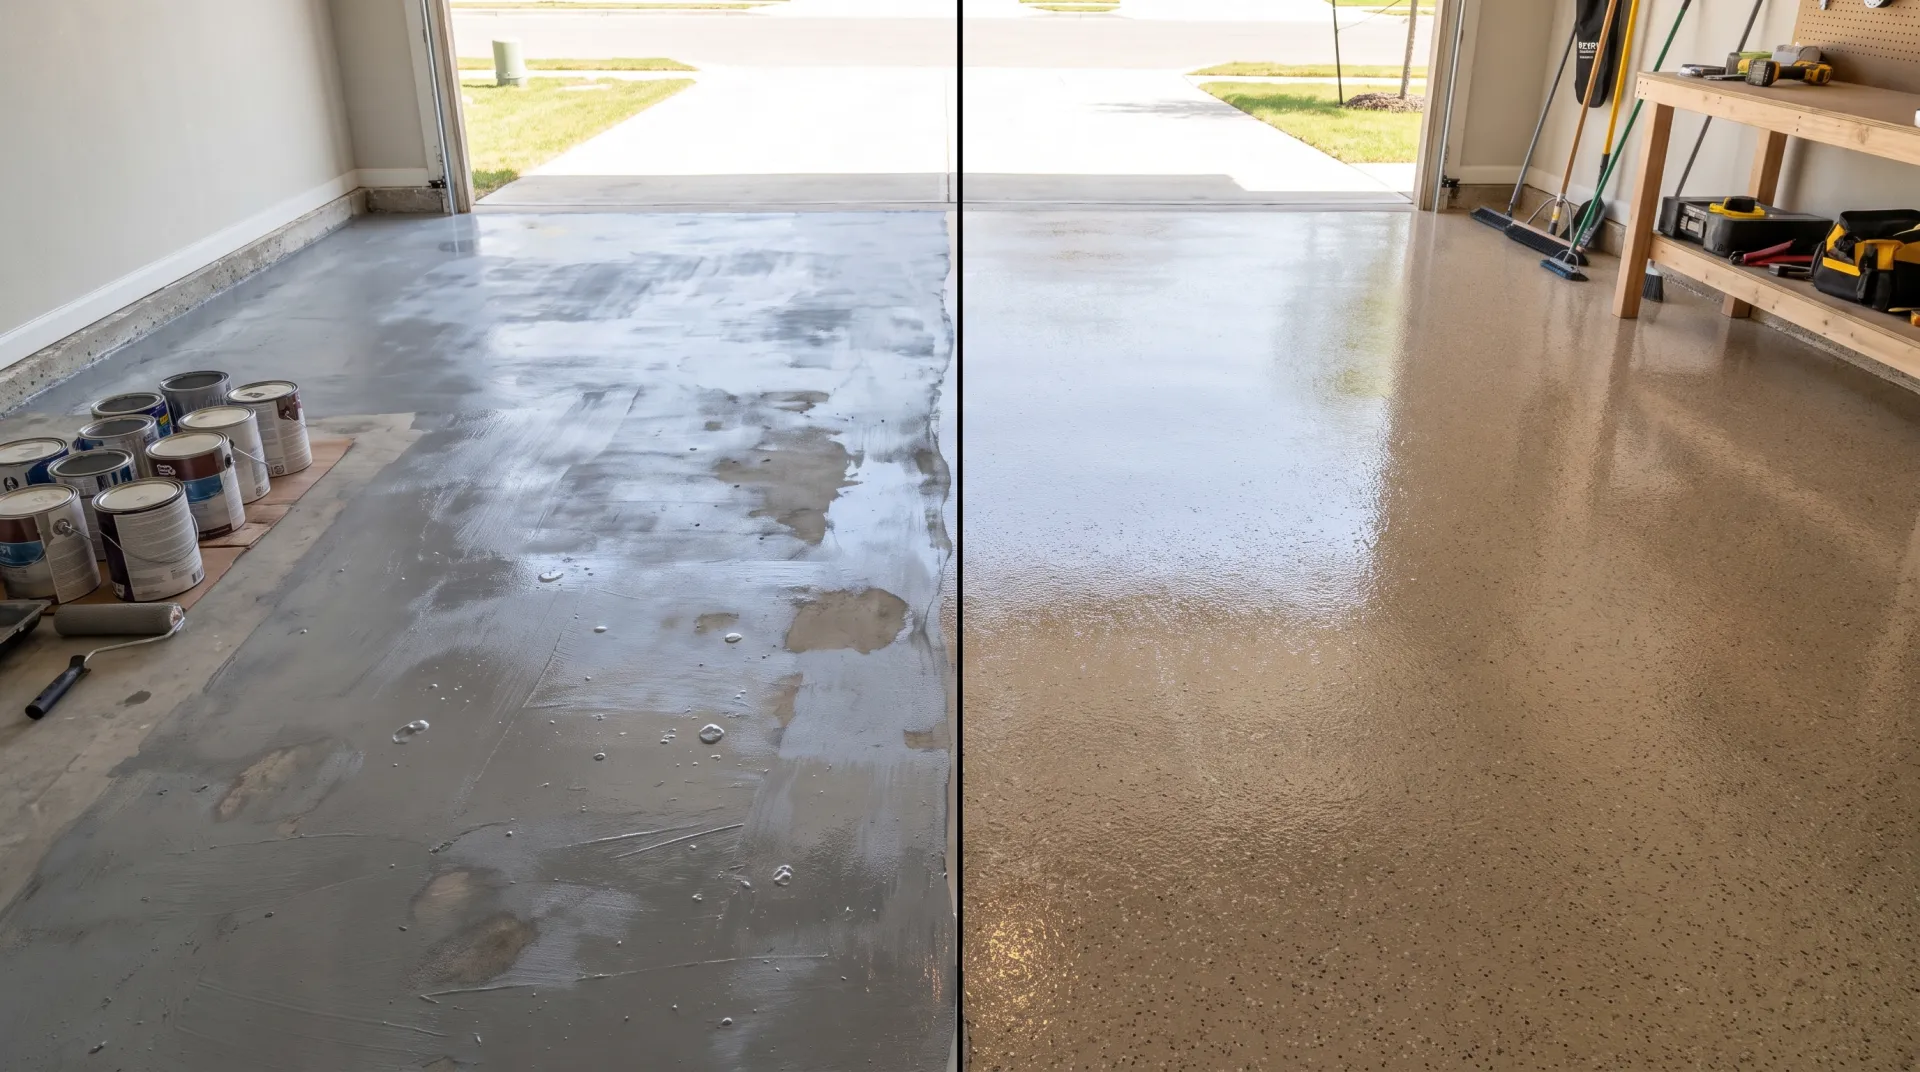
A DIY epoxy garage floor kit can look like a weekend win, but most box-store kits use a thin, 1-part water-based coating that peels, yellows, or scuffs through within a couple of years - while a professionally installed 2-part 100% solids epoxy system, properly ground and prepped, routinely lasts a decade or more. For San Antonio homeowners deciding between the two, the real question isn't just cost per gallon - it's what the floor is actually being asked to survive: daily vehicle traffic, hot tire pickup in summer heat, and the wear of a working garage.
Why DIY Epoxy Kits Often Fail Early
Nearly every DIY epoxy failure traces back to one of two causes: inadequate surface preparation or an undersized coating system. Most retail kits instruct homeowners to acid-etch the concrete with a diluted solution poured from a bottle, then roll on a thin coat once it dries. That etching step rarely opens the concrete's pores enough for a true mechanical bond, especially on garage floors that already have years of sealer, oil residue, or tire-rubber transfer embedded in the surface.
Professional installers instead grind the concrete with diamond tooling, which removes contamination and creates a textured profile the coating can physically key into - not just chemically adhere to. That difference in prep is the single biggest reason a professionally coated epoxy garage floor in San Antonio holds up to years of vehicle traffic while a DIY kit on the same slab can start lifting at the tire-contact zones within months.
What "Epoxy" Actually Means in a DIY Kit
Many consumer kits marketed as "epoxy" are actually a 1-part water-based epoxy acrylic blend, not a true 2-part 100% solids epoxy. The 1-part version is easier to apply - no mixing ratios, no working-time pressure - but it cures to a much softer, thinner film that's more vulnerable to hot tire pickup, the phenomenon where a warm tire in San Antonio's summer heat softens the coating just enough to lift it slightly when the vehicle pulls away. True 2-part epoxy chemically cross-links into a much harder, thicker film that resists this far better.
Real Cost Comparison: DIY Kit vs Professional Install
| Factor | DIY Kit | Professional Install |
|---|---|---|
| Material cost (2-car garage) | $200-$500 | Included in installed price |
| Installed cost (2-car garage) | N/A (labor is your time) | $1,500-$4,000 (varies by system) |
| Surface prep | Acid etch only | Diamond grinding, moisture test |
| Coating type | 1-part water-based, thin film | 2-part 100% solids, thick film |
| Typical lifespan | 1-3 years before visible wear | 10+ years with proper care |
| Warranty | None | Typically included |
The hidden cost of DIY: homeowners who redo a failed DIY floor every 2-3 years often spend more over a decade than a single professional installation would have cost upfront - without ever getting the durability of a true 2-part system.
Where DIY Kits Can Make Sense
DIY isn't always the wrong call. For a garage used mainly for storage, a workbench corner, or occasional parking rather than daily vehicle use, a well-applied DIY kit on a clean, dry slab can look good and hold up reasonably well for a few years. The key is setting expectations correctly: it's a cosmetic refresh with a shorter lifespan, not a durable, decade-long floor system. Homeowners planning to sell within a year or two sometimes choose DIY purely for the visual upgrade at minimal cost, accepting that the buyer or next owner will likely recoat eventually.
Installation Process: DIY vs Professional, Step by Step
Seeing the two processes side by side makes clear why the outcomes differ so much even when both start with the same slab.
- DIY prep: sweep, degrease with a household cleaner, apply the included acid-etch solution, rinse, and let dry - typically a half-day process
- Professional prep: moisture test the slab, diamond-grind the surface to remove contamination and open the concrete's pores, vacuum all dust, and repair any cracks or pitting before coating
- DIY application: roll on the base coat, scatter included color flakes if desired, and apply a single topcoat once dry - usually completed in a weekend
- Professional application: apply a primer coat matched to the tested moisture level, a pigmented 2-part base coat, optional broadcast flake or quartz for texture and slip resistance, and a chemical- and abrasion-resistant topcoat, each with proper cure time between coats
- Cure time: DIY kits are often walkable in 24 hours and drivable in a few days; professional systems typically specify light foot traffic after 24-48 hours and full vehicle traffic after 5-7 days to reach full chemical cure
Not Sure Which Route Fits Your Garage?
We'll walk your slab, test for moisture, and give you an honest read on whether a DIY refresh or a full professional system fits your situation.
Request a Free QuoteSigns Your Garage Needs a Professional System, Not a DIY Fix
Certain slab conditions push the decision firmly toward professional installation regardless of budget. Visible moisture intrusion, efflorescence (a white, powdery mineral deposit on the surface), active cracking, or a floor that's been coated and has already failed once are all signs that a DIY kit will likely fail again for the same underlying reason. Professional installers test moisture vapor emission before coating specifically to catch this - a step essentially no DIY kit instructions include - because coating over a slab with elevated moisture almost guarantees delamination regardless of how well the visible surface prep was done.
Garages used for a home gym, workshop with rolling tool chests, or daily two-vehicle parking also see enough concentrated wear that a thin DIY film typically shows scuffing and wear patterns within the first year, well before a properly installed system would show comparable wear. If the garage functions as more than occasional storage, the durability gap between the two approaches becomes the deciding factor more often than the sticker price.
Comparing DIY to Related Coating Options
Homeowners weighing DIY epoxy sometimes overlook faster-curing alternatives that professional installers also offer. Polyaspartic coatings, for example, cure dramatically faster than traditional epoxy - a full system can often be installed and drivable within a day or two rather than the week epoxy needs to fully cure. Our guide on epoxy vs. polyaspartic garage floor cure time breaks down that comparison in more detail, which is worth reading before deciding between a DIY epoxy kit and a professionally installed alternative system.
Getting the Most Value From a Professional Installation
For homeowners who decide professional installation is the right call, a few factors most affect the value received. Confirming the contractor performs mechanical grinding rather than just acid etching, asking whether moisture testing is included, and understanding what warranty coverage applies are the three questions that separate a properly installed system from a rushed one. San Antonio's climate - hot summers with intense UV exposure and occasional heavy rain - also makes it worth asking specifically about the topcoat's UV stability, since a topcoat not rated for sustained sun exposure can yellow or chalk over time even on an otherwise well-installed floor.
Tools and Conditions That Trip Up DIY Installers
Beyond the coating itself, a handful of environmental and procedural details cause most DIY failures that homeowners never anticipate. Applying epoxy when the slab or ambient temperature is outside the product's recommended range - too cold for proper cure, or too hot and humid for San Antonio's peak summer afternoons - is one of the most common mistakes, since it can cause the coating to cure improperly, trap bubbles, or develop an uneven finish (often called "amine blush" in humid conditions). Professional crews schedule around temperature and humidity windows specifically to avoid this, something a DIY project completed on a single available weekend often can't accommodate.
Dust control during application is another overlooked factor. A garage that's swept but not vacuumed still carries fine concrete dust that settles into a wet coating and creates a rough, gritty texture in the cured film. Professional installations typically use HEPA-filtered vacuum systems during grinding specifically to minimize airborne dust before the coating goes down, which is difficult to replicate with typical homeowner equipment.
What to Expect From a Professional Quote
A legitimate professional quote for an epoxy garage floor in San Antonio should specify the exact coating system (base coat, broadcast material if any, topcoat), the surface prep method, expected cure and return-to-service timelines, and any warranty terms in writing - not just a flat square-footage price. Homeowners comparing multiple quotes should be cautious of bids significantly below the local market range, since a low price often means the contractor is planning to skip mechanical grinding or use a lighter-duty coating system than what's actually needed for daily vehicle traffic. Asking each contractor directly whether grinding or shot-blasting is included, and whether moisture testing is part of the process, quickly separates a thorough bid from a corner-cutting one.