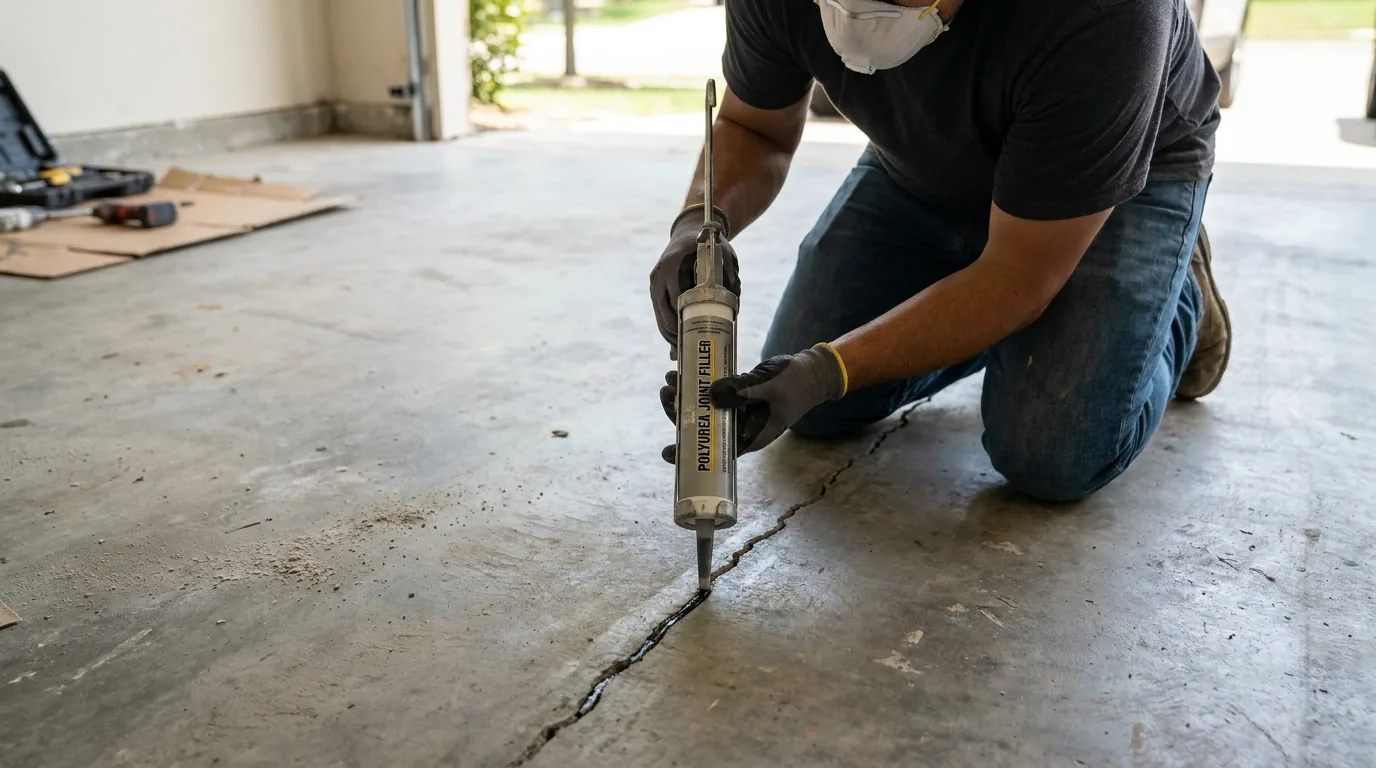
Epoxy floor crack repair in San Antonio is not one-size-fits-all. A hairline shrinkage crack that formed when the slab dried decades ago behaves very differently from a crack driven by soil movement under the foundation. The wrong repair approach - patching a moving crack, or pulling up an entire floor for a surface-level fissure - wastes money either way.
This guide explains the types of cracks you'll encounter in San Antonio slabs, the role caliche soil plays in crack formation, how to determine whether patching or a full strip and recoat makes sense, and what the epoxy floor repair process actually looks like in practice.
Types of Cracks in San Antonio Concrete Floors
Not all cracks are the same. Before choosing a repair strategy, you need to know what kind of crack you're dealing with.
| Crack Type | Width | Cause | Moving? | Patchable |
|---|---|---|---|---|
| Hairline shrinkage | < 1/16" | Concrete curing | No | Yes |
| Control joint crack | 1/16–1/8" | Slab thermal movement | Minimal | Yes (flexible filler) |
| Settlement crack | 1/8–1/4" | Soil movement beneath slab | Possibly | Assess first |
| Structural crack | > 1/4" | Foundation load or upheaval | Yes | No - foundation first |
Caliche Soil Expansion: San Antonio's Unique Problem
San Antonio sits on a band of caliche - calcium carbonate hardpan that can extend from 12 inches to 3 feet below the surface across much of Bexar County. Caliche doesn't compress well under load, and when it gets wet, it expands. When it dries out, it contracts. This cyclical movement is why San Antonio homeowners see more floor cracks than in cities built on deep clay or sandy soil.
The practical result: cracks that appear minor in May may widen noticeably by September after the summer rainy season saturates the caliche layer. A crack that looks like a simple surface fissure at 1/16 inch can open to 3/16 inch within six months. Any repair plan for a San Antonio slab needs to account for this movement potential.
Before committing to any crack repair, monitor the crack for 30 days by placing a pencil mark across it and measuring both ends weekly. A crack that is not moving is a much safer candidate for permanent filler than one that shifts even 1/32 inch week to week.
Run your hand across the crack. If one side sits higher than the other - even 1/16 inch - that is vertical displacement, a sign of differential slab movement. Displacement cracks require foundation assessment before flooring repair. Filling them with epoxy paste without addressing the root cause will re-crack within months.
When Epoxy Crack Patching Is Sufficient
Crack patching is the right call when all three of these are true:
- The crack is under 1/8 inch wide with no vertical displacement
- The crack has not moved in a 30-day monitoring period
- The surrounding epoxy coating is otherwise well bonded
In these cases, a professional will V-groove the crack with an angle grinder or oscillating tool to open it slightly and create clean edges, vacuum out dust, apply a penetrating low-viscosity polyurea or epoxy injection filler, and broadcast fine aggregate to match the surrounding texture before topcoating.
Concrete grinding around the crack edges prior to filler application improves adhesion significantly - the filler bonds to exposed concrete, not to the existing coating. Skipping this step is the most common reason patched cracks re-open.
Crack-Bridging Epoxy Products and Their Limits
Two product types handle crack repair in coated concrete floors:
- Semi-rigid epoxy paste: High compressive strength, minimal elongation (2–5%). Best for static cracks that will not move further. Applied with a putty knife or caulk gun into the V-grooved crack, then sanded flush after cure. Standard cure time 6–24 hours at 70°F; longer in San Antonio's summer heat.
- Flexible polyurea crack filler: Elongation values of 60–200%, meaning it stretches with minor ongoing movement without re-cracking. The right choice for control joints and cracks in areas subject to thermal cycling. Lower compressive strength than epoxy paste but far more durable in conditions where the slab is not fully static.
Neither product is appropriate for cracks with vertical displacement or for cracks in slabs with active foundation issues. Using a crack filler as a substitute for foundation repair is a short-term patch on a long-term problem.
When Full Removal and Recoat Is Required
Full recoat is the right call when:
A full recoat means mechanically removing all existing coating (shot blasting or diamond grinding down to bare concrete), repairing all cracks with appropriate filler, performing a moisture vapor test to determine primer selection, then rebuilding the coating system from scratch. On a garage floor epoxy install, expect the process to take 1–2 days for removal and cure time before recoating can begin.
Cost of Crack Repair vs. Full Recoat in San Antonio
As a rough guideline for 2026 San Antonio pricing:
- Spot crack repair (1–3 cracks, stable): $150–$500 depending on crack length and whether grinding is required around the area
- Multiple crack repairs with partial recoat: $500–$1,200 for a garage-sized area
- Full strip and recoat (400 sq ft garage): $1,400–$2,800 for a professional two-coat epoxy system with flake broadcast and polyaspartic topcoat
The math often favors the full recoat: paying $500 to patch three cracks in a floor that has five more forming rarely makes sense versus a $2,000 full redo that addresses root cause and carries a warranty. Get a professional assessment that includes a hollow-sound test of the entire floor, not just the visible cracks, before committing to a repair scope.
Cracks in Your Epoxy Floor?
We'll assess whether patching is the right call or whether a full recoat will save you money long-term - before you spend on the wrong solution.
Get a Free Assessment